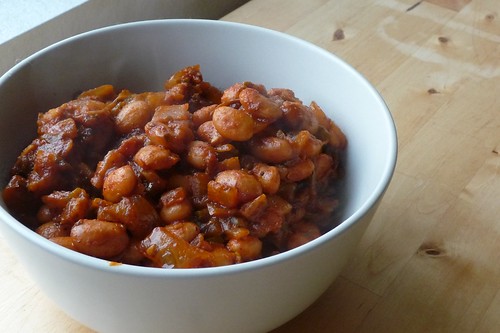
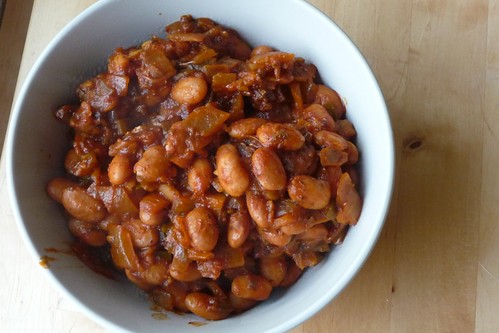
Achiote Frijoles Recado
Continuing from last time's Verdolaga Sauce, this Yucatan-inspired recipe is a really great way to cook up some beans. Tune in Friday for the final recipe to make some Tacos de Verdolaga con Achiote Frijoles Recado y Guacamole!
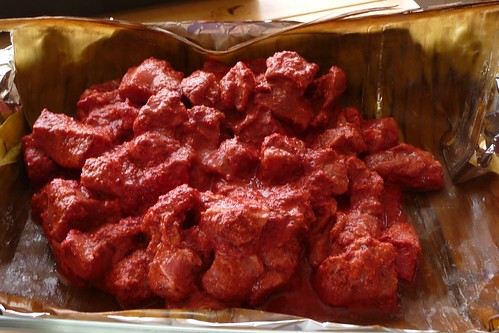
We've been on an achiote kick lately. It all started with the Cochinita Pibil. Now we have annatto seeds and annatto powder, not to mention packets of achiote paste in the cupboard. (And another batch of cochinita pibil marinating in the fridge as I type.)
Achiote and annatto seeds are a common components in Yucatan cuisine. Even though I eat a ton of Mexican food, we don't have very many restaurants in my area that offer dishes outside what is quickly becoming Mexican-American cuisine. So when it comes to beans, I usually think of the common refried pinto beans or cooked black beans. I don't often put a lot of spice into them (though I'm a sucker for peppers, onions and citrus with black beans) either.
Now, my husband, as I may have mentioned, absolutely adores beans. He's always on the lookout for another bean recipe to try - and because of him (and Winco), we have a lot of various beans in our cupboard to play around with. He came across this post at FatFreeVegan for a thick, saucy beans with achiote which sounded fabulous.
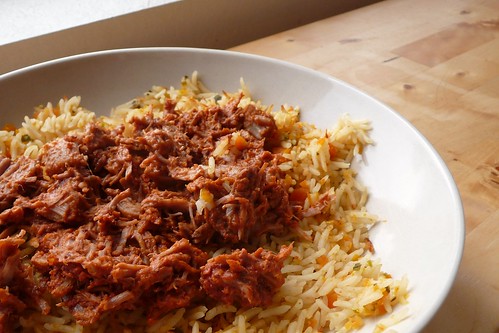
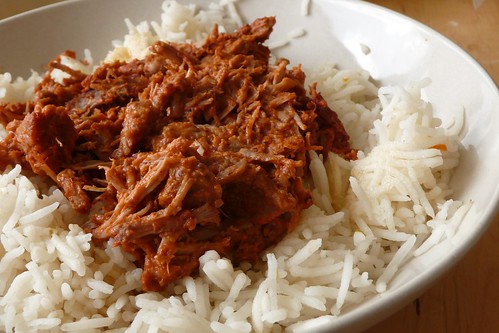
These are great by themselves (though better with something else great, like Verdolaga Sauce, but more on that on Friday!) and would make a wonderful accompaniment for grilled shrimp or chicken, barbacoa or carnitas. They're super-savory and the scents that waft up as they cook is almost enough to make you swoon.
Or maybe I'm just odd. Let's not rule that out!
In any case, this is a great recipe to swap your standard refried beans out with - including in burritos with rice and meat or veggies.
Achiote Frijoles Recado [printable recipe]
Adapted from Achiote Beans Recado
Serves 2
- 1 1/2 cups cooked pinto, mayocoba, or black beans1
- 1/2 white onion, finely chopped
- 1 jalapeno, seeded, minced
- 3 cloves of garlic, crushed
- 1 cup water or stock
- juice of 1 large lemon
- 1 tbsp tomato paste
- 1 tsp ground annatto powder
- 1/2 tsp ground cumin
- 1/2 tsp oregano
- dash of ground cloves
- dash of hot paprika or cayenne
- salt and pepper
- 1 tbsp oil
In a medium pot, heat oil over moderate heat. Saute onions until browned, then add jalapeno and garlic. Fry for another minute or two, then add the spices and tomato paste. Cook until fragrant. Pour in water/stock, lemon juice, stir well making sure to scrape up the fond at the bottom. Stir in the beans, bring to a simmer and cover, reducing the heat to low.
Let the beans cook for 30 to 45 minutes, checking periodically to ensure they haven't boiled dry. Add water as necessary. When done, the beans will be meltingly tender and the sauce extremely thick.
Serve on the side as an accompaniment, or as part of a burrito, or as I did as part of Tacos de Verdolaga con Achiote Frijoles Recado y Guacamole. Check in Friday for the guac recipe!
Notes:
- Equivalent to 1/2 cup dry beans or 1 15 oz can, drained.