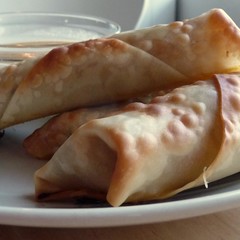
Baked Vareniky (Ukrainian Pocket Pies)

At the library, we picked up a copy of The Best of Ukrainian Cuisine which we thought would be fun. We looked through it, found that many of the recipes sounded good and decided to try their recipe for vareniky with meat and cabbage (вареники з м'ясом та капустоіо) today.
Vareniky can be described as large "pocket pies" or "hand pies". Similar to ravioli, pelmeņi or pierogi, they're popular in many Eastern European countries. They can be filled with just about anything -- cheese, meat, cabbage, poppy seeds, mushrooms, fish or liver -- or any combination thereof. There's even a version with cherries that I'm very tempted to make later this week.
Vareniky, which means "boiled things", are quite often boiled, though they can also be steamed (some parts of the Ukraine), boiled then fried in butter (Poland) or baked with an egg wash (Latvia). We went the Latvian route (unsurprisingly) and baked ours.

Vareniky, like pelmeņi, are "fast food" meaning they can be prepared well ahead of time, frozen and then boiled for 3 - 4 minutes to make a fast, easy meal. Plus, they can be stuffed with just about anything whether savory or sweet.
Baked Vareniky (Ukrainian Pocket Pies) [printable recipe]
Adapted from The Best of Ukrainian Cuisine
Serves 4
Dough:
- 1/2 lb flour
- 1/2 c water
- 1 egg
- 1 tsp salt
Filling:
- 3 cups cabbage, shredded
- 1/4 lb beef1
- 1/4 lb pork1
- 1 medium onion
- 3 carrots, grated
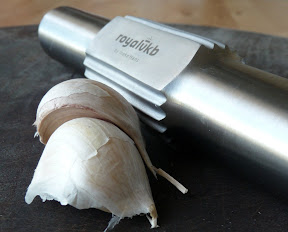
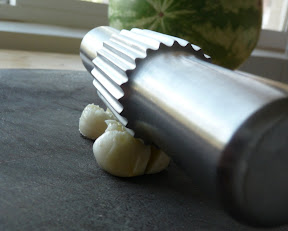
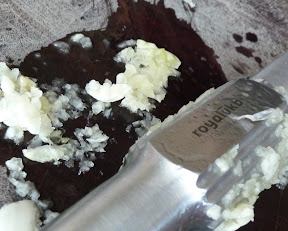
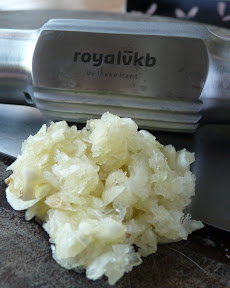
- 4 cloves garlic, crushed
- 1 slice bread (if grinding)
- 1/2 tsp each thyme, oregano, marjoram, crushed red chili flakes
- 1/4 tsp chili powder or cumin
- salt, pepper
- nonstick spray
Preheat oven to 425F.
Prepare the dough: Mix together all ingredients listed under dough, knead well, adjusting quantity of flour or water as needed to form a stiff, pliable dough. Roll out to 1/4" thickness (or thinner, if you can). Using a large cookie cutter, cut out rounds, re-rolling dough until used up. Allow to rest while working on the filling.
Prepare the filling: Cut up beef and pork into chunks. Using a meat grinder or food processor, grind meat and onion to a fine mince. (If using a meat grinder, put a slice of bread through last to push out any remaining meat.) Stir in spices, carrot and crushed garlic. Over moderate heat in a large, oiled skillet, brown meat mixture well.
Remove, drain any fat if necessary. Mix in cabbage and grind mixture again. Let cool.
Prepare the vareniky: Add a heaping tablespoon or so to each dough circle. Dampen edges with a fingertip and press dough together to form a half-moon shape. Place on a foil or silicone-lined sheet pan.
Spray tops of vareniky lightly and bake until golden brown, about 20 minutes. Serve with sour cream.
Notes:
- Any cheap meat works here. You can buy already ground beef or pork or the cheapest cuts at the market and grind them yourself. I used a hunk of beef tip roast and a couple of boneless pork chops that were on sale.